
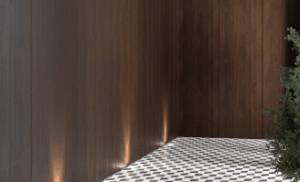
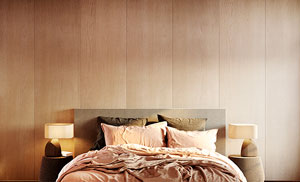

Advice
Installation instructions
Step 1
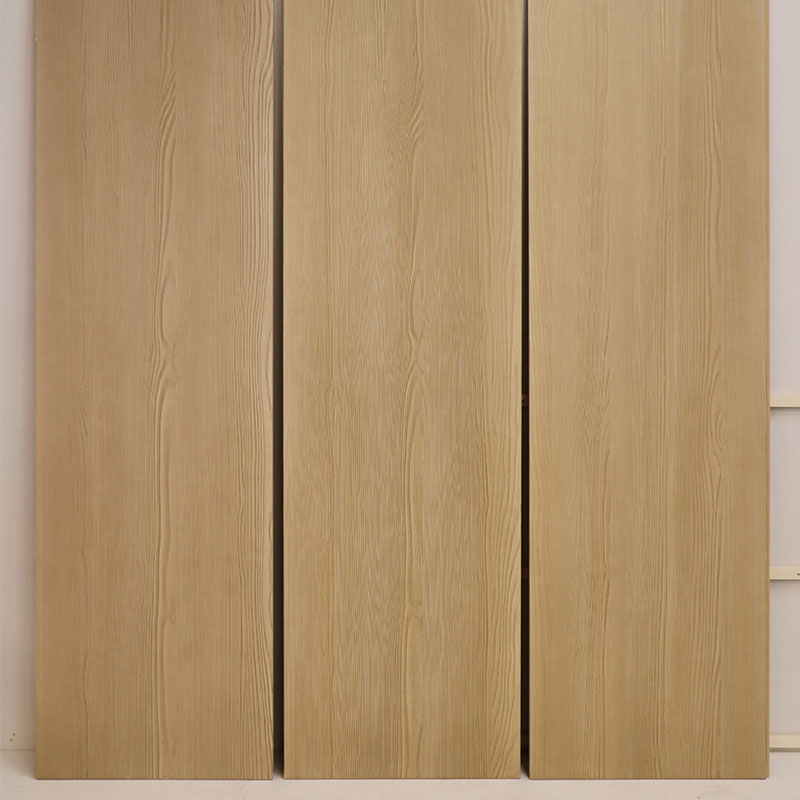
Unpack all the panels so that you can choose how to place them, taking care to match up the lines for grained wood or structured patinas.
Unpack all the panels so that you can choose how to place them, taking care to match up the lines for grained wood or structured patinas.
Step 2
Make sure the substrate or wall is even, clean, dry and free of anything that could damage the wall panels.
We advise leaving at least a 10 mm space between the wall and the panels so that the air can circulate. This will avoid the panels becoming deformed or marks appearing.

Step 3
Fasten the rails to the wall, starting by the lowest horizontal rail which will serve as your reference. It must be positioned at the height of the bottom of the wall panel, so that you have the level to follow.
- For a vertical installation, place the rails horizontally approximately every 50 cm.
- For a horizontal installation of the wall panels, fasten the rails vertically approximately every 50 cm.
Step 4
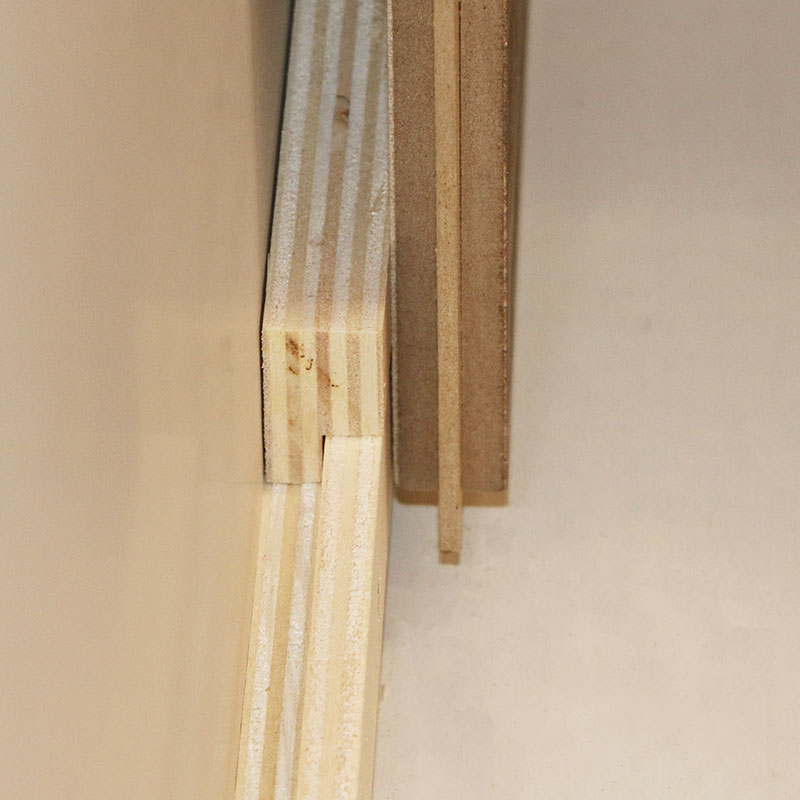
Install the panel rails. To do this, you will need to identify the position of the rails on the wall, and then, based on that, fasten the other rail onto the back of the panels using wood screws.
You can fasten long lengths, which is simpler, but you can also fasten just lengths of 20 cm, this will be easier for placing the panels.
Be careful to check the length of the screws to ensure they won't come through the surface of the wall panel. The screw should not penetrate the panel by more than 15 mm. We recommend 35 mm long screws.
Step 5 - 1/2
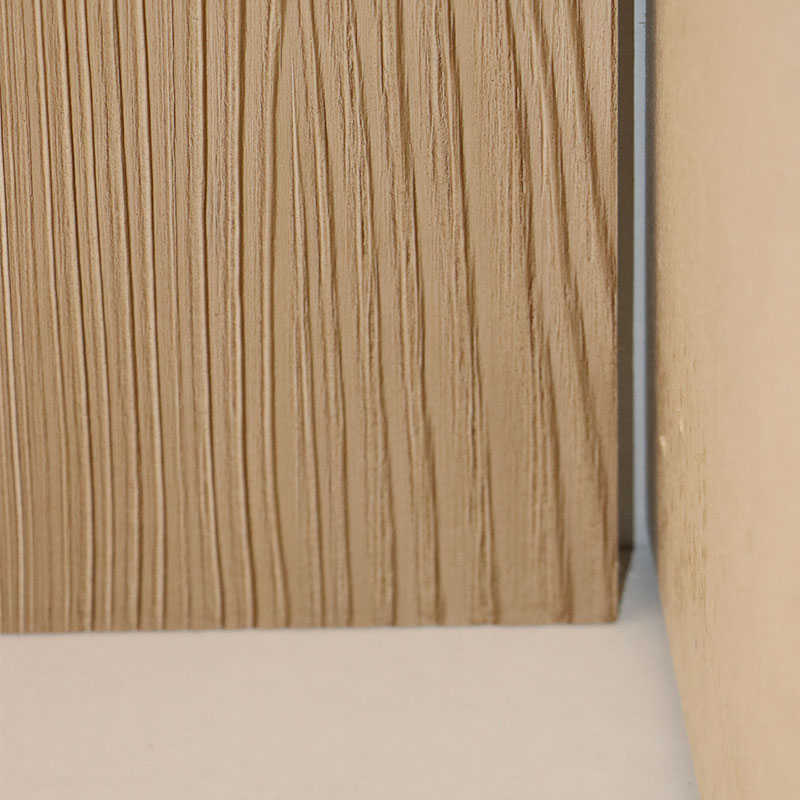
Install the panels. Make sure the tongues go right into the grooves all along the length of the panels when you position the panels on the rails, so that they hold firm and the joints are regular.
Step 5 - 2/2
When placing the panels, always use a piece of wood to tap to avoid damaging the edges of the panels.
Step 6 - 1/2
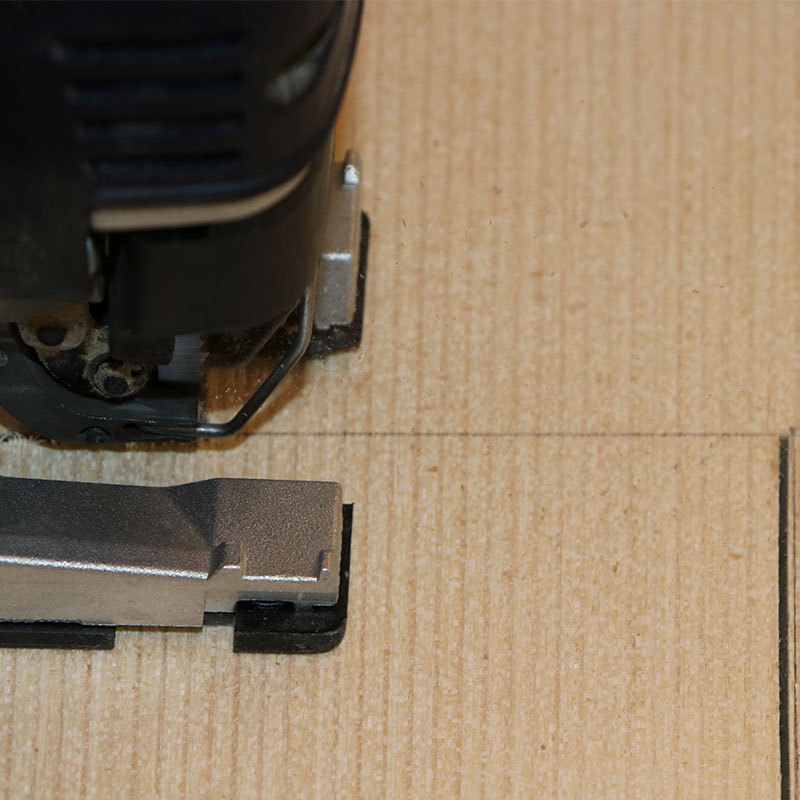
Adjust the panels or make any cut-outs taking the precautions below to ensure a perfect result.
-Turn the panel over, taking care to protect the surface.
-Use a pencil to mark out the cut-out on the back of the panel.
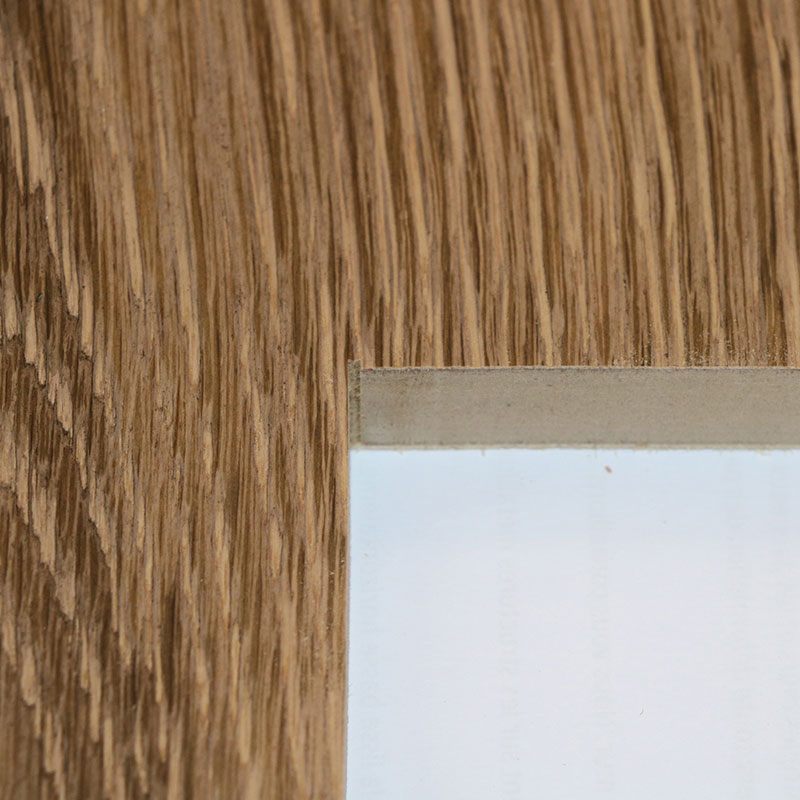
Step 6 - 2/2
- Cut out with a fine-toothed jigsaw or circular saw if the cuts are straight.
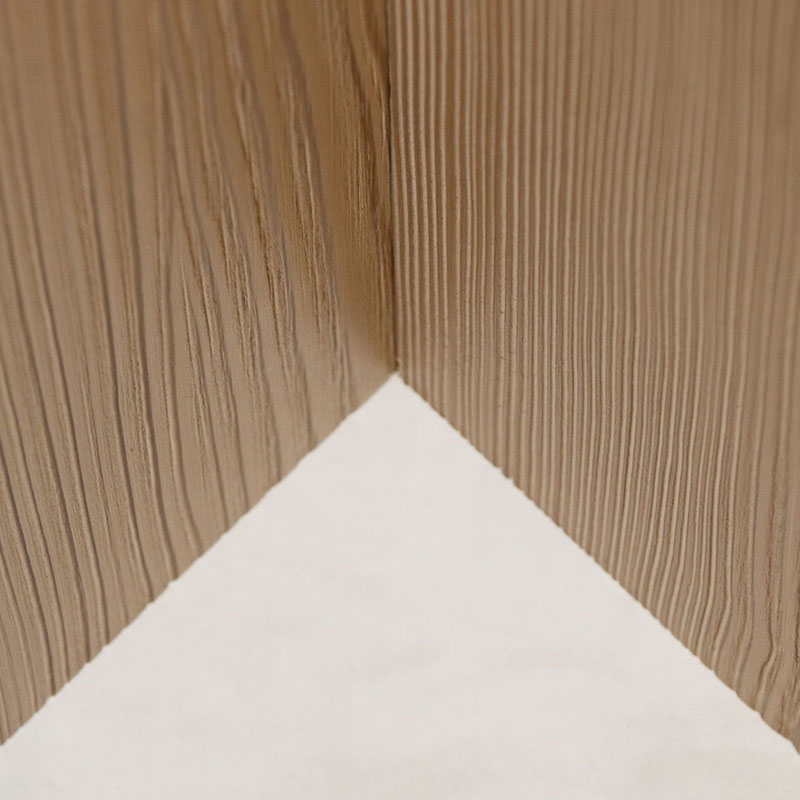
Step 7 - 1/4
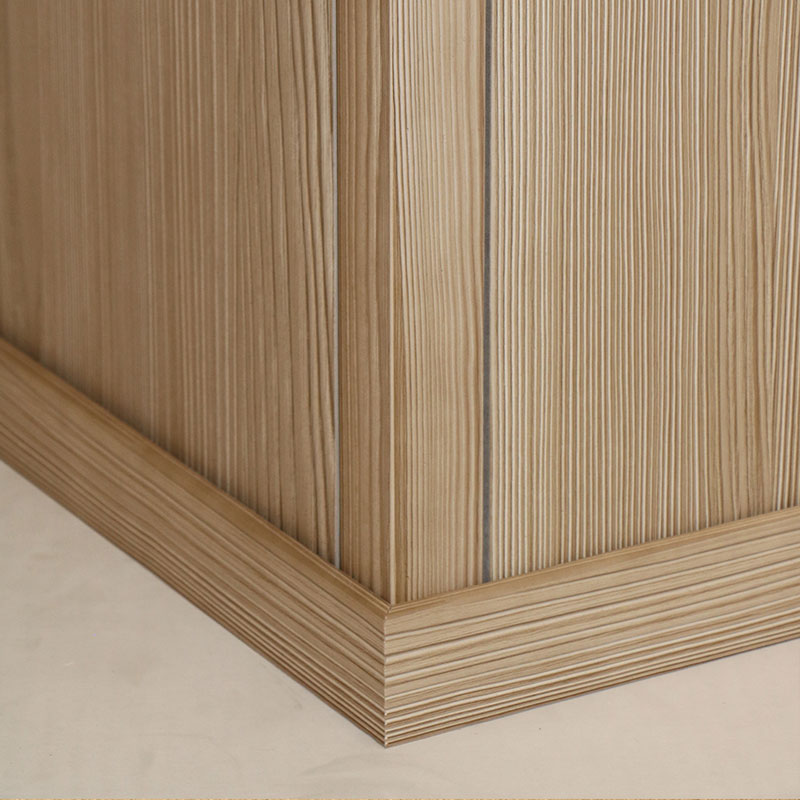
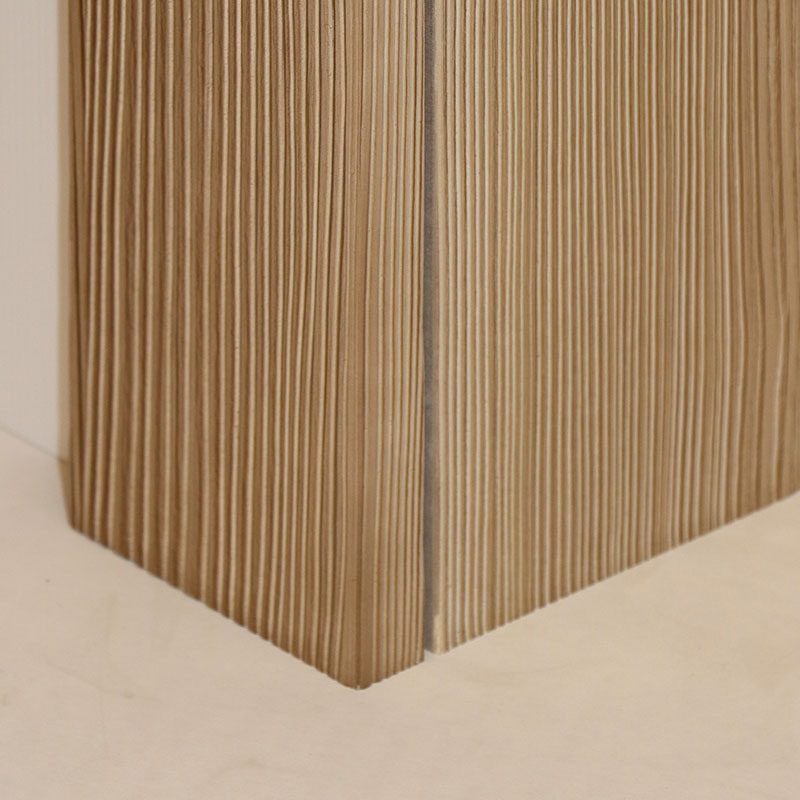
Finalise the corners.
For reentrant corners: we recommend that you do not use finishing pieces in the corners - instead, fit the corner panels edge to edge.
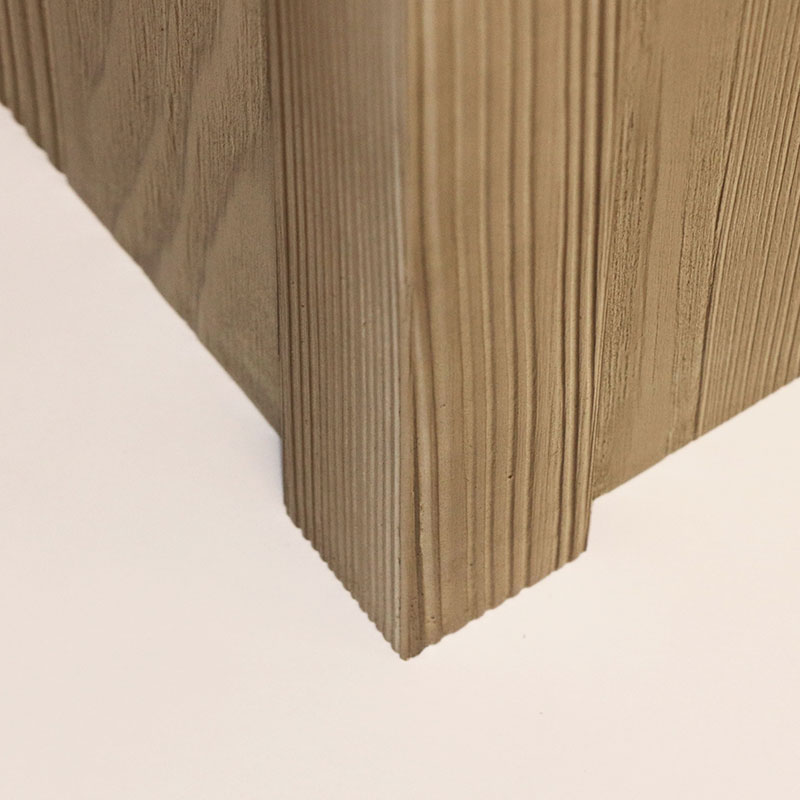
Step 7 - 2/4
For salient corners: you have two solutions:
- either fit a corner strip over the corner join
Step 7 - 3/4
- or use the corner strip that fits flush with panels. To use this piece the panels have to fit perfectly in the corner.
In both cases, these pieces will be fixed with wood glue.
Step 7 - 4/4
You can also fit a "joint cover strip" over the join.
This piece will be glued on.
These pieces can be placed before the panels are installed so that the belt strip matches the panelling.
Step 8
Finalise edges and returns. For the edges and returns you can use a "return board".
Step 9
Admire the result and, if necessary, dust over your panelling with a very soft antistatic cloth. Never use wax or greasy products, to ensure our finishes keep their sheen.
Our assembly components
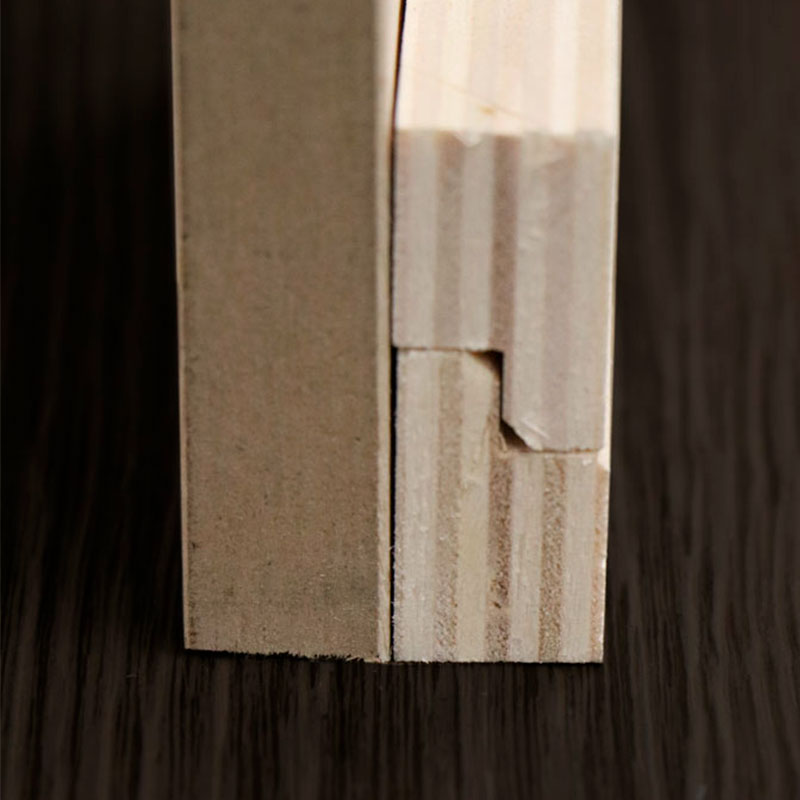
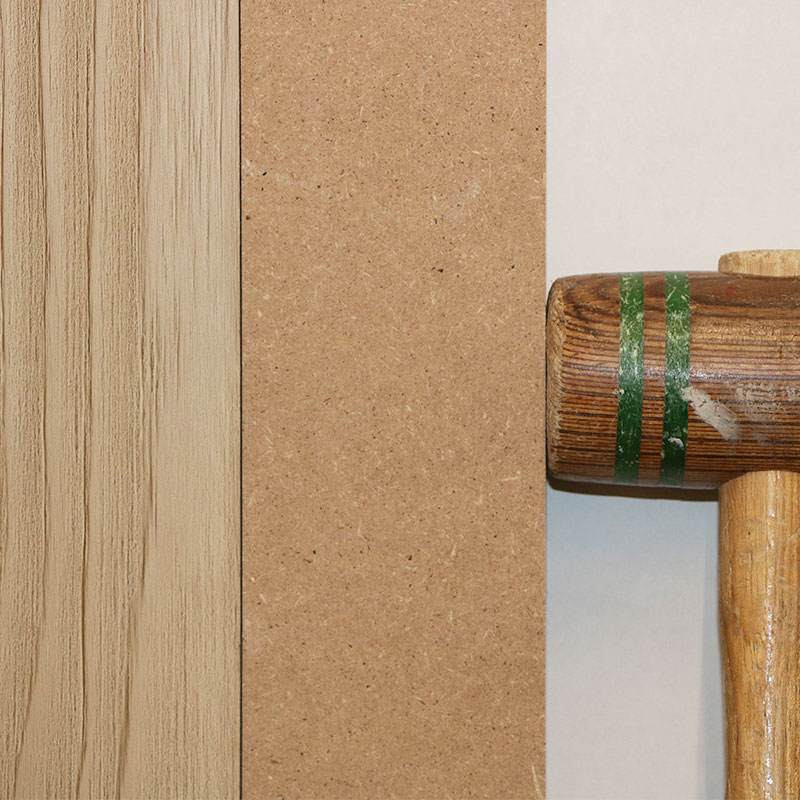
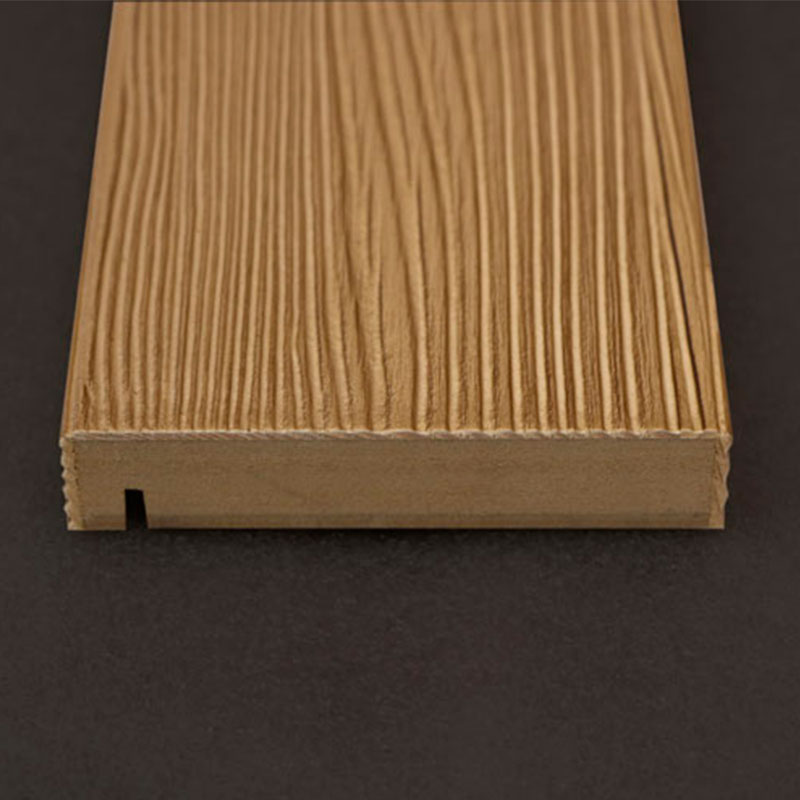
Support rail
A batten to fasten onto the wall and onto the back of our panels.
In two parts, section 50 x 19 mm.

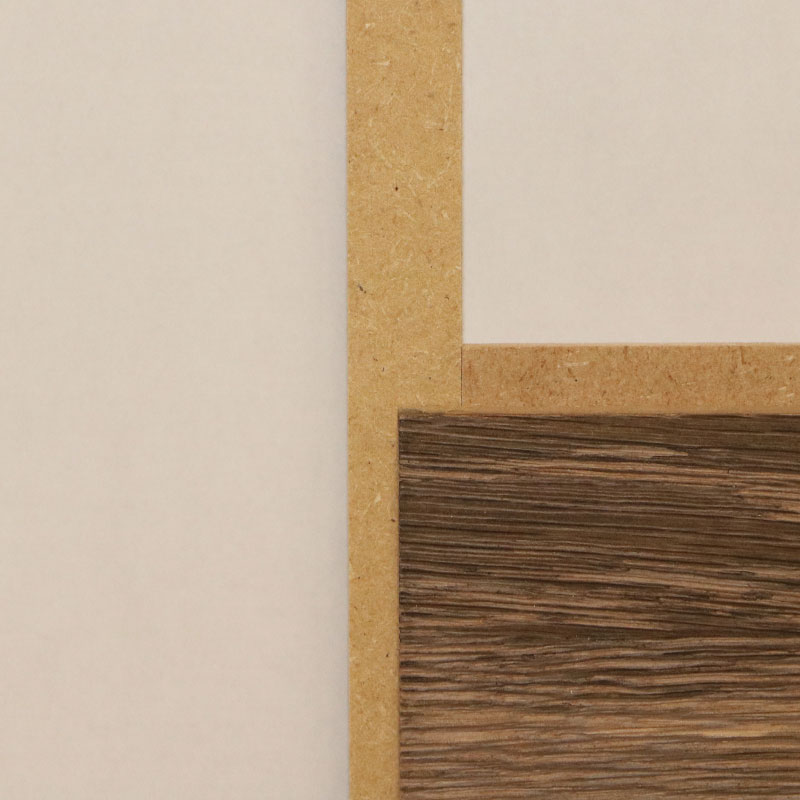
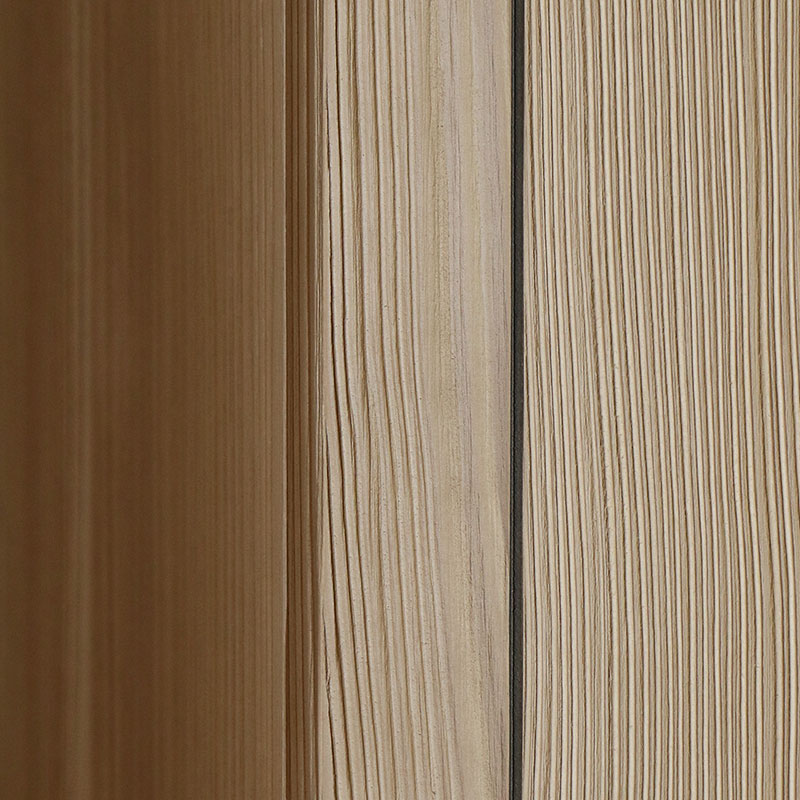
Joint cover strip
A profile to fasten over joints, use as a skirting or a finishing strip.
1 side and one edge visible, section 50 x 8 mm.
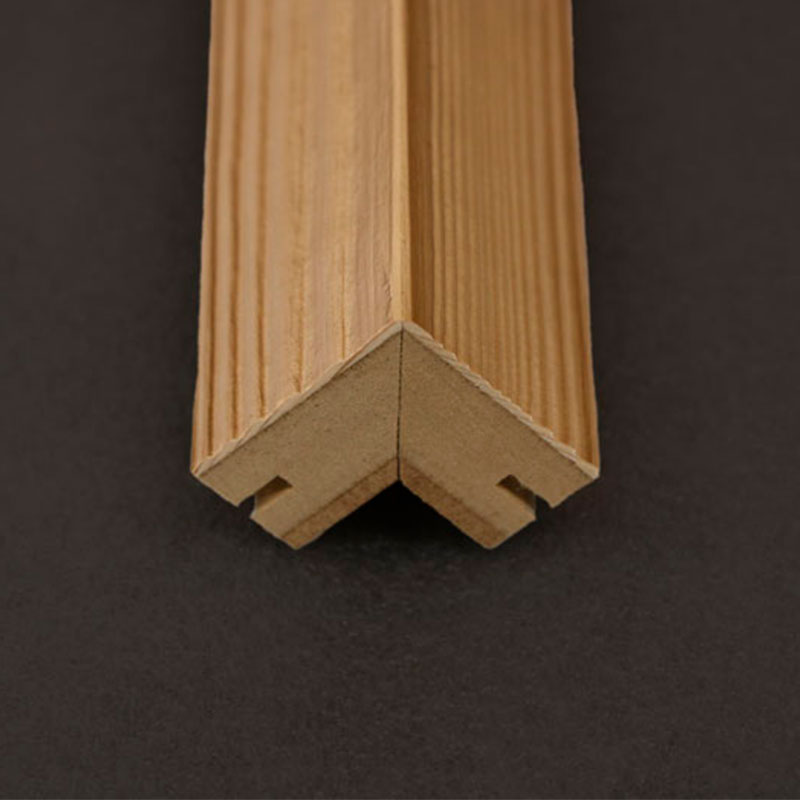
Corner
A profile to fasten onto the tongues in the panels, in corners.
2 visible sides, section 40 x 40 mm.

Corner strip
An L-shaped profile to fit over corner joins.
2 sides and 2 edges visible, section 40 x 40 x 8 mm.
Return board
A wide profile to fasten onto the tongues of the edge panels.
1 face and 2 visible edges, section 100 x 20 mm.
How do I place an order ?
Go to the request a quote tab on the website and enter the information for your project. A Mil expert will contact you to check and validate your project before you finally place the order.
Can I order extra panels ?
You can, but because each production is unique, made with natural materials and hand-finished by our craftsmen, we are unable to guarantee that the extra panels will be a perfect match with the first batch. This is one of the reasons why our Mil expert will check your order to make sure you have calculated the quantities you need correctly.
How do I install my panels ?
The installation is done on wooden rails provided with your order. See our installation instructions on our advice page for more details.